Touring: How to Plan and Organize a Tour
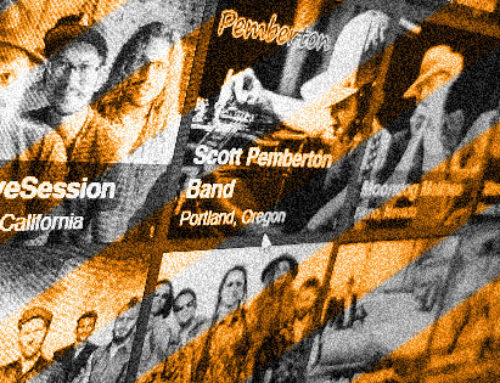
Tour Promotion: Ready to hit the road and take your music across your region, country, or even overseas? To plan a tour, you’ll need to save some money, consider transportation, come up with a route, and book your venues. Once your tour is booked, don’t forget to promote it. Organizing a tour takes some work, but when you’re rocking out to full houses in city after city, you’ll be glad you took the time to plan it well.
Step 1
Make sure you have written at least one album. Not a couple of songs, an entire album; you’ll need a lot of songs for your shows. Plan on having enough material to play a 45 minute to hour-long set, plus one or two encore numbers (think positive – you want those encores!).
Step 3
Get a van, or a car with a trailer. You need the trailer to hold your instruments and equipment. A 12 or 15-Passenger van (i.e. Chevy Express 3500) is preferable because they are spacious enough to be comfortable but also get good gas mileage for what they are. With a van you also want to get some sort of roadside assistance such as AAA or Better World Club and keep your vehicle in good working order, especially for longer tours.
Step 5
- Search for contacts in each city you hope to play in. The best contacts are local bands that play in the area and venues. Send the band/venue/promoters in each city a message asking them to check out your band and let them know that you are interested in playing a show with them/at their venue on such and such day. You can’t always get a show on the day you are looking for and sometimes have to change your route or find a different venue to play at.
- Make sure you aren’t playing on a night when another, bigger band is in the same town. (i.e. If you are an AC/DC tribute band don’t play in Denver on the same night that AC/DC is in Denver, because no one will go to your show).
- If you are trying to play in a city and there is another show of a similar genre across town that same night, try to get on that show. Do not book your own show if you’re just starting out because, odds are if you are from out of town and are new to most people, there is not much demand for your show. However, if you get on a show with the biggest local band in town and you play right before them, a lot of people will be there to see the big local band and will, consequently, see you.
Step 7
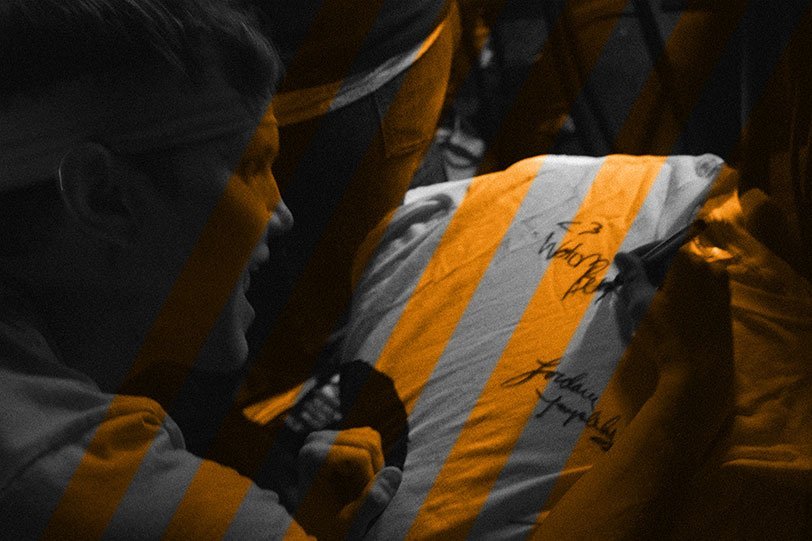
Get merchandise made and CD’s pressed. If you only have a demo or a three song “EP” you can still take and get them pressed and labeled packaged inexpensively. You can also do it yourself; it doesn’t really matter, just as long as you have them available to sell/give out on tour. If someone hears your band and likes it but can’t get a CD, odds are they will not remember you. Make sure to include your band name, a track listing and a website/Myspace URL so that they can find you online. If you have the money, you would be wise to come up with even just two or three simple t-shirts. Don’t start out too fancy or expensive because as a small touring band, there is no guarantee people will want to buy your shirts, but having two or three different designs available for your new fans to buy helps you make extra money and is free advertisement when they wear them.
Step 9
Make sure that each member has his/her equipment ready to go. New strings and extra picks are a must for all guitars and bass. Drummers, bring extra sticks, and don’t forget your drum key! Organize your equipment in your trailer in a way that keeps everything fragile (i.e. heads, drums, etc..) as low and tightly packed as possible. Road cases are great to have for literally every piece of equipment. Make sure that all of your equipment is ready to go, no broken tubes in your Triple Rectifier, no broken drum heads and the like. Do not leave home without a tuner and functioning instrument cables, there is no better way to look unprofessional than to need to borrow a tuner every night. Take extra cables and cords and check everything every day to make sure it’s in good shape for your next show.
Step 11
Each person should pack lightly. People in bands are notoriously dirty, it’s a fact of life. Bring two bags at most! A backpack with entertainment items like computers, iPods, books, and toiletries like a toothbrush, deodorant etc. which you keep in the van with you, and bring a large duffel bag or small suitcase with your clothes, which stays in the trailer or back of the van. Focus mainly on having lots of socks, underwear, and t-shirts. Shirts and pants can be worn repeatedly. If you are in a different city every day, no one is going to know you wore the same outfit the day before. Just make sure your clothes are clean – you sweat onstage because of the hot lights. Don’t kid yourself that it’s okay to wear a shirt you’ve soaked two nights in a row. Take it to a laundromat and wash it. Throw in your used underwear and socks while you’re at it.
Step 2
Save up money for a few months. Each person should have enough money to pay for his/her own food on the tour and the band should have some money to get started off with – you will need gas for the van, some upkeep money for oil, transmission, brake fluids, etc., and sundry money for sundry needs – maybe one of you will get a cold, and need some NyQuil or something. It’s best to be prepared with more than you think you’ll need.
Step 4
Come up with a route or plan for your tour. Planning which town/city you would like to play on which days. Try to plot a route that makes sense, i.e., try to make a circle rather than playing in one city one day, traveling 150 miles (240 km) to the next city the next day – and then doubling back to play back in that same starting city the day after that! Instead, try to book two shows in City #1, a day apart, and then travel on to City #2, 150 miles away. Make sure all of your band members are available during the entire time allotted.
Step 6
- Write up a contract for promoters and venues. You don’t need to hire a lawyer to write it up, just use common sense. Make a form with spaces for venue name, address, phone number, load-in time, sound check time, show time, and pay. This works both as a means of making sure you do not get screwed over, and also is useful as an itinerary. That way you have a contact sheet for every show and know when you need to be there, and other important information.
- Send these contracts through e-mail (not Myspace) or regular U.S. Mail to each venue or promoter you have arranged a show with. Have them fill it out and send it back. Keep all of the forms they send back for use as an itinerary and also to make sure things go the way they were agreed on.
- Odds are that starting out, you will have shows canceled mid tour, have promoters “forget” to pay you and other things like that, and they are honestly nearly unavoidable. It happens to almost everyone so don’t let it get you down (that’s why you need to take more money than you think you’ll need). A contract will, however, help to deter some promoters from just flat out being flaky on you.
Step 8
Make up a flyer for each of the shows with the venue name, show date, address and what bands are playing as well as start time and send them to the venues/band/promoters you are playing with. Sometimes promoters or other bands do this for you and send the flyer to you. Either way, make sure it is up on your Myspace. If you’ll be playing a large number of dates, you may want to make a template poster with a big blank spot to write in the date, time, location, and cover. Make sure your website is on the flyer, so you don’t have to write it out.
Step 10
Write an inventory of every little thing in the van, and make copies. You will be packing and unpacking your vehicle over and over, and the likelihood of missing something is pretty high when you factor in late-night exhaustion after a gig, the darkness of night and clubs, and mother nature. And that beer before the set. Make it easy on yourself, and just have a list. Make copies of the inventory, and use it as a checklist before you leave every town.
Step 12
Before you leave take your tour vehicle in for service. Get the oil changed, tires checked, fluids checked, etc. It is important to keep a well maintained vehicle in order to avoid overusing your brand new AAA card!
Hope this Help.